This tutorial was submitted to us by our close friend Emily. You can find her at her blog.
How to Make an Elastic Belt
Have you ever found yourself on the playground for pick-up and realized you're the only one still in "mom jeans"? You've been packing lunches, wiping bottoms, doing, I mean overseeing, homework, and just generally keeping everyone alive. There has literally been no time for fashion. But there you are with a precious 3 minutes to spare and you realize you're still wearing loose jeans with the pockets too high, thus aging you...and not in a good way.
But let's be honest- even if you swap play dates for a morning out shopping, who can afford a totally updated wardrobe? Thus, it becomes essential to pick up a few flexible pieces and then be creative with what you have. Belts, for example, are not high on my list to buy. They go from thick to thin so fast, I can barely keep up with the trends. So, I decided to make a belt. That's right, I fashioned one myself {!} in less than 5 minutes and for under $5. And you can too. The options are endless.
What You Will Need:
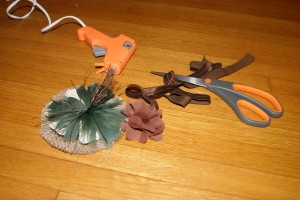
- a fold-over piece of elastic of your choice, long enough to go around your waist
- hot glue gun {you can sew it instead if you prefer}
- a flower or decoration of your choice {I bought one with a clip for 40% off at Jo Anne's}

note: I hadn't decided yet which flower I would use...of course, I went BIG. I mean, obviously.
Step 1: Measure your elastic for the belt.
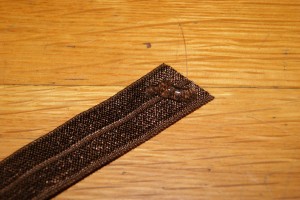
Stretch the elastic around your waist to see how long it needs to be- stretchy enough to pull off and on, but taut enough to stay put and be flattering. Then put a dab of glue on.

Step 2: Add your flower.
You can either glue one on, or take the easy route and buy a decoration with a clip that just clips on. Either way, attach your flower over the glued section to cover it up.

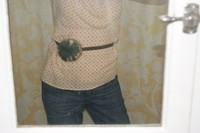
Step 3: Wear it!
...and possibly clean your mirror before taking pictures. Or, better yet, enlist a family member to do it for you.


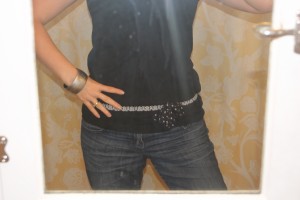
I had so much fun, I quickly made another one to wear lower.
