Elastic Necklace Tutorial
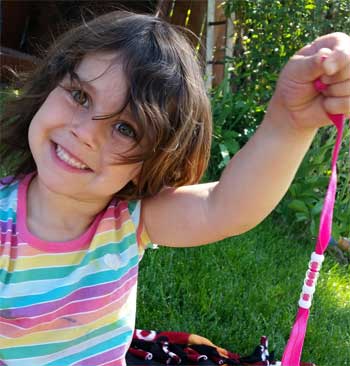
I don’t know about you but my kids are ready to go back to school! We have done a lot of fun activities this summer but they needed something new to do. I thought for this months tutorial I would do something that my kids would have fun doing and was easy! My kids are 4 (girl), 7 (boy), and 9 (boy) they all really had fun making necklaces for themselves and their friends. We also made a few to give to my daughter’s friend for her birthday!

What you need:
-
Pony beads or beads with large holes (any color you would like)
-
5 yard roll of FOE any color you would like
-
Candle
-
Matches/lighter
-
Scissors
-
type measure or yard stick

How to:
First you need to cut your elastic to length, 22 to 24 inches. Once you have have your elastic cut you will need to melt the ends. This part needs to be done by an adult. You melt the ends by holding the end of the elastic over the candle flame. Do not hold it to close or your elastic will start on fire (that would not be good). Make sure you do not melt it too much or your ends will be to thick to put on the beads. Let the elastic cool for about 30 seconds.


To add your beads to the elastic roll the elastic end so it becomes small enough for the beads to go on. You can string as many as you would like and do any pattern you would like.


Once you finish putting on the beads you will need to tie off your necklace. You can either tie your ends into a bow or just a regular knot. My older son was able to tie his necklace on his own, I did help the other two.


Guess what?! That is it you are all finished!! So fun and so easy! The colors and patterns are endless!

This would be a great activity for a birthday party, classroom, play date, or something to bust summer boredom!
Tutorial by: Chelsea
If you enjoy this tutorial please share on Pinterest and Facebook!
